So, in an article "How to write a Discord bot in Python" by Junpei Shimotsu, he showed us how to make a Discord bot in Python. Continuing that I want to show how I host my bost on Heroku. Don't worry we'll be using the free tier of Heroku.
I am going to use the same code as that provided with the article written by X. There are many ways to approach this, this is how I do it. I am using a Linux system here, so the Mac and Windows users do the equivalent.
So, let's get started.
Prerequisites
Apart from what you needed to make the Discord bot, you are going to need git, a GitHub account, Heroku CLI and a Heroku account.
Step 1 Set up GitHub We need to have a working Discord bot so that we have something to push to GitHub. Let's start with creating a repo for our bot.
To know how to create a repo, click here https://help.github.com/articles/create-a-repo/
Then clone that repository on your local system. https://help.github.com/articles/cloning-a-repository/
now change directory into your repository.
Step 2 Create a simple bot
Make a bot.py file and put this or your working bot code in it.
import discord
from discord.ext import commands
bot = commands.Bot(command_prefix='$')
@bot.event
async def on_ready():
    print('Logged in as')
    print(bot.user.name)
    print(bot.user.id)
    print('------')
@bot.command()
async def greet(ctx):
    await ctx.send(":smiley: :wave: Hello, there!")
bot.run('<YOUR_TOKEN_HERE>')
Step 3 List Python dependencies.
Create a requirements.txt file and put the dependencies of your bot in it.
git+https://github.com/Rapptz/discord.py@rewrite#egg=discord.py[voice]
Since my bot uses the rewrite version of the Discord.py library. You will add here whatever depencies that your bot has.
Step 4 Create a Procfile
A Procfile is a mechanism for declaring what commands are run by your application’s dynos on the Heroku platform.
Since we are not going to host a bot, we will use the worker dyno.
worker: python3 bot.py
if you have the Heroku CLI installed, run
$ heroku local
And if there are no errors in your code, this will start your bot and you'll notice on your discord server that your bot cam online. Now if everything is fine, then push it to the GitHub.
$ git add .
$ git commit -m "Initial commit"
$ git push
Step 5 Create Heroku app
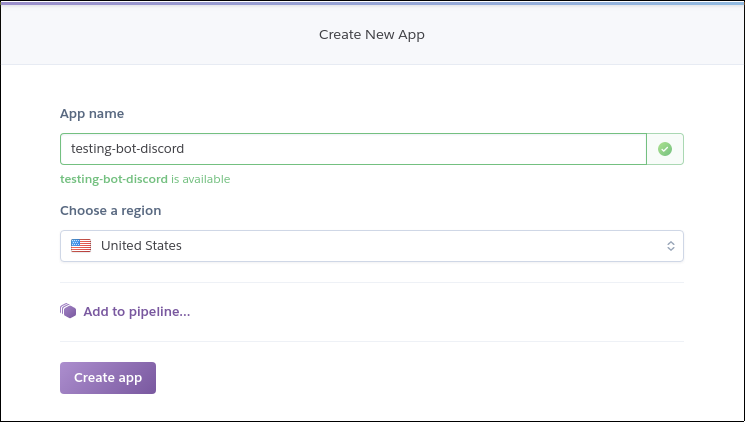
First Create a Heroku app, give it a unique name.

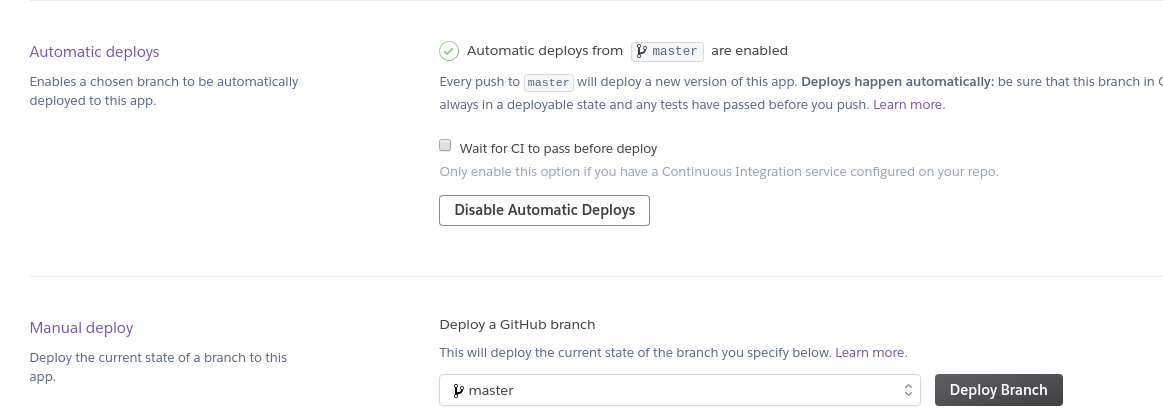
After creating you'll be taken to the deployment page. Here you'll see an option to use GitHub for deployment. After connecting your GitHub account with heroku you can choose which your repo to use for deployment.

Now that repo is selected, press that manual deployment button. And it'd be a good option to enable Automatic deployment.

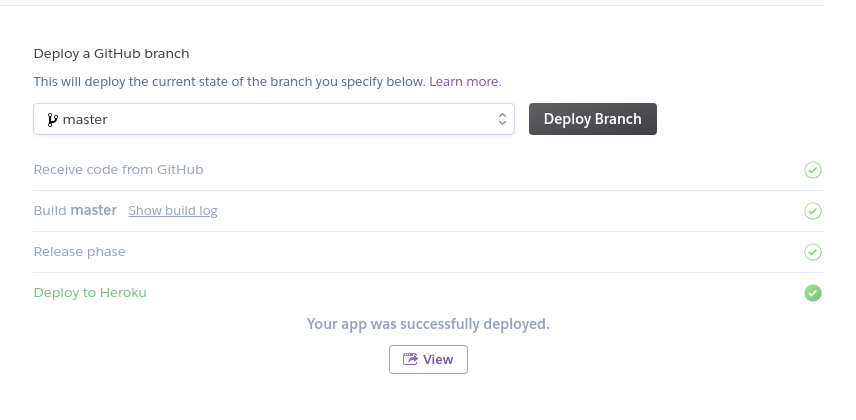
Now press "Deploy Branch" to deploy your application. And if everything goes well, you will get this.

At this point we are done and our bot is now online. If you have any suggestions or questions leave in the comments below. You can also connect with me at GitHub/anshulc95 or Twitter/anshulc95
Related article
- Summary of Python Development.
- All Python articles are here
